Economic efficiency of density measurement methods in additive manufacturing
Additive manufacturing has established itself as a transformative technology in the manufacturing industry. A crucial aspect for the quality and...

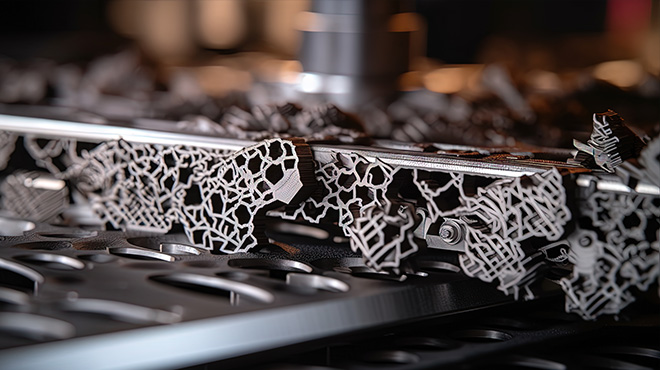
Thermally intensive manufacturing processes are usually used to manufacture products from ceramic or metallic powders. Whether it is a modern additive manufacturing process with a powder bed, a powder injection moulding process or a classic sintering process with powder pressing; all manufacturing processes harbour the risk of producing components that look good at first glance but have internal defects. For example, gas or unprocessed material can become trapped inside a component. Incorrectly set thermal or chemical processes can also cause cracks to form due to distortion. In other cases, energy input, fluctuations in the raw material batches and incorrectly selected parameters can lead to an undesirable material composition in the end product. The result of these defects: The component does not achieve the desired properties and, in the worst case, may even fail prematurely in its later product application.
For this reason, methods that can be used to determine the density or porosity of the component are used as a safeguard. This key figure provides reliable information as to whether the ‘inner values’ of the part are in order.
In this context, the functional principles of various density determination methods are presented. These methods range from traditional mechanical methods to advanced imaging techniques. In the following overview, we would like to discuss the most prominent and effective density determination methods and explain how they work. The aim is to provide a comprehensible overview of the variety and complexity of the available technologies and to emphasise their relevance in today's research and production landscape.
The Archimedes method is a traditional and non-destructive method for determining density. It is based on the principle that a body immersed in a liquid experiences a buoyant force equal to the weight of the displaced liquid. However, the method can be influenced by environmental factors such as changes in temperature and humidity. Specialised laboratory conditions and trained personnel are required for accurate and reliable results. One of the main advantages of this method is the short time required, as only two weight measurements need to be carried out and no processing of the test specimen is required.
Automated density determination combines the Archimedes method with modern automation technology. The samples are placed in special component carriers, which are transported through the system by a robot. This automated process eliminates human influence on the measurement and ensures consistent handling and measurement. The scales are vibration-decoupled and environmental conditions such as temperature and air pressure are constantly monitored and taken into account to ensure maximum accuracy. This compensates for the weaknesses of traditional, manual density determination and makes the process available in accordance with the requirements of modern manufacturing processes.
Computertomography is an advanced imaging technique that provides detailed three-dimensional images of an object. When determining density, CT can be used to visualise the internal structure of an additively manufactured part and identify pores or other irregularities. Imaging can also be used to analyse the shape and distribution of pores. However, extremely small pores and defects below the resolution limit of the system can no longer be recognised.
The micrograph is a method in which a cross-section of the material is analysed under a microscope. It allows a detailed examination of the microstructure of the material and can be used to classify and analyse pores, cracks or other defects.
The density determination of solids with a pycnometer is based on fluid displacement. The pycnometer, a precise glass vessel, is first filled with a reference liquid or gas and weighed. After the solid has been added, it displaces the fluid. The density of the solid can be calculated by weighing it again and taking into account the known volume of the pycnometer. This method is particularly suitable for small or powdery samples.
Choosing the right method for density determination is crucial for the quality and functionality of the manufactured components. Each method has its own advantages and disadvantages, and it is important to choose the method that best suits the specific requirements of quality assurance. If you are interested in a detailed examination of the defects, micrograph or CT are more suitable. If you want to make a quick decision as to whether a component fulfils the desired quality requirements or not, other methods are more suitable.
In this article, we would like to provide a simple overview of the various methods for determining density. You can find more details on the methods in our other blog articles (LINK). If you have any further questions or comments, please do not hesitate to contact usg
Source: Analysis of measurement methods for density determination - Fraunhofer IAPT - Dimensionics Density GmbH

Additive manufacturing has established itself as a transformative technology in the manufacturing industry. A crucial aspect for the quality and...

What awaits you here: INTRODUCTION DEFECT CLASSES IN SLS AND SLM COMPONENTS AND HOW THEY ARISE POSSIBLE METHODS OF DENSITY DETERMINATION & THEIR USE...

What awaits you here: INTRODUCTION MICROGRAPH COMPUTERTOMOGRAPHY (CT) AUTOMATED DENSITY DETERMINATION CONCLUSION Introduction In additive...